Github Actions: How I set up an isolated and ephemeral self-hosted Apple Silicon M1 runner

Github-hosted Apple Silicon runners are still not available, but here is how I was able to set up an isolated and ephemeral self-hosted Apple Silicon M1 runner in just one afternoon.

This article is a WIP, and reflects a rainy afternoon summary. Feel free to submit suggestions or ask for additional info.
Github-hosted Apple Silicon runners are still not available, but with the recently released M1 Pro and M1 Max, at kivy there was an urgency for a fast and stable solution, one that allows us to test our changes or release a new package on PyPI, without the need of a human, sitting on his ergonomic chair to manually launch the scripts on his powerful M1 based Mac.
We opted for an M1 Mac Mini, with 16 GB of unified memory, connected via VPN.
Due to a global chip shortage, we waited for two weeks to receive the Mac Mini from Apple, but now was time to power it, and start working on what we hoped for.
Apart from some bad news regarding macOS Monterey 12, which seems to have bricked some devices while upgrading from
macOS Big Sur 11, the new macOS Monterey 12 probably saved me a lot of time, due to the Virtualization
Framework.
On M1 powered devices that are updated to macOS Monterey 12, the Virtualization Framework allows to easily
create and run a macOS VM.
Here’s how with 4 simple steps, I was able to set up an isolated and ephemeral self-hosted Apple Silicon M1 runner:
Step 1: Setup base macOS VM
Here’s where KhaosT/MacVM started to appear. After I took a look at the source code, I noticed how the majority of the code was needed just for the UI, cause all the VM thing was substantially handled via the Virtualization Framework.
This step prerequisites:
- An Apple Silicon M1 powered device
- XCode >= 13.1
- A clone of the KhaosT/MacVM repo git clone https://github.com/KhaosT/MacVM.git
- An IPSW image (at the time of writing, the most recent available is UniversalMac_12.0.1_21A559_Restore.ipsw), downloadable from: IPSW firmware files database
- A list of all the dependencies and tools you want to make available by default on your master image.
Inside the just cloned MacVM folder you’ll find a MacVM.xcodeproj file, open it with XCode, and make sure to set the proper account for signing the App (Or, instead, under "Signing Certificate" select "Sign to Run locally"), then run the app.
You will be prompted to the following window:
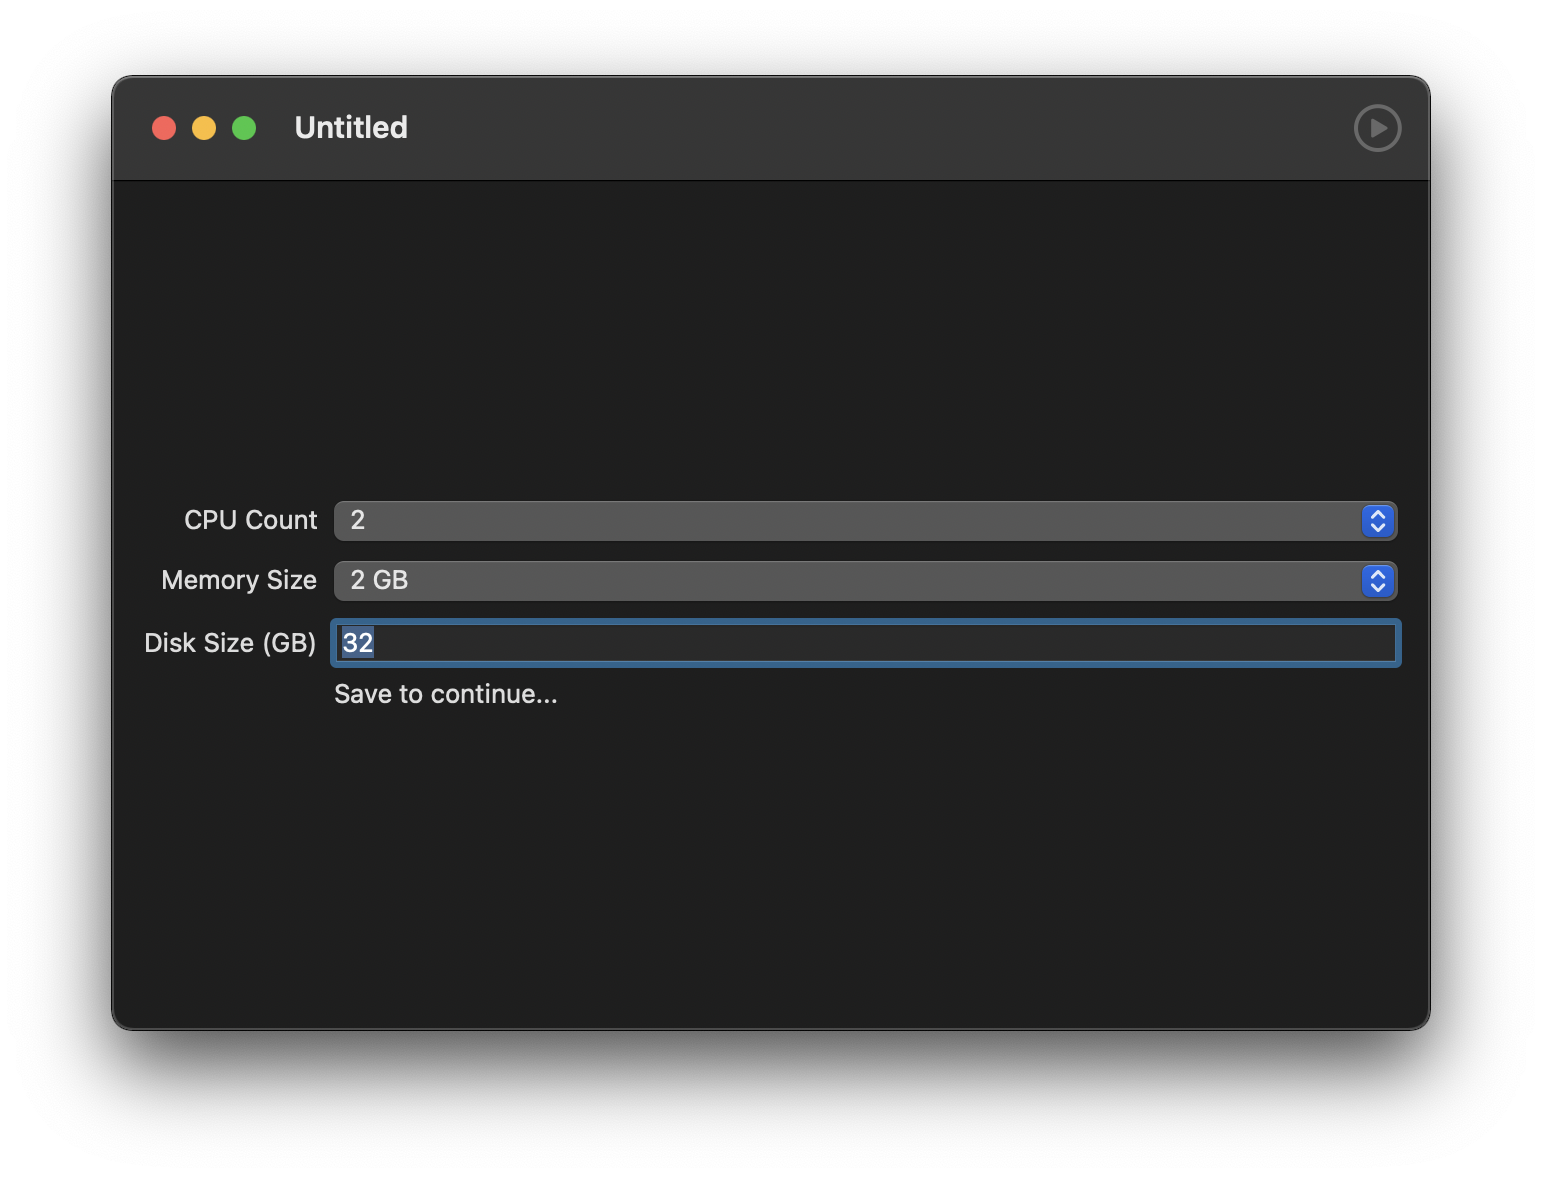
Feel free to do your own setup here, I personally configured to 4 CPU, 8 GB memory and 64 GB of disk size.
Please consider that, during idle, we will have 2x disk images, cause one will be kept as the clean one. During tests I noticed that with 32GB of disk size there's no enough space to install command line tools, and you probably need them, so if you need them installed, increase the disk size to 64 GB.
When you're good with the configuration, save it to your Documents folder. File -> Save
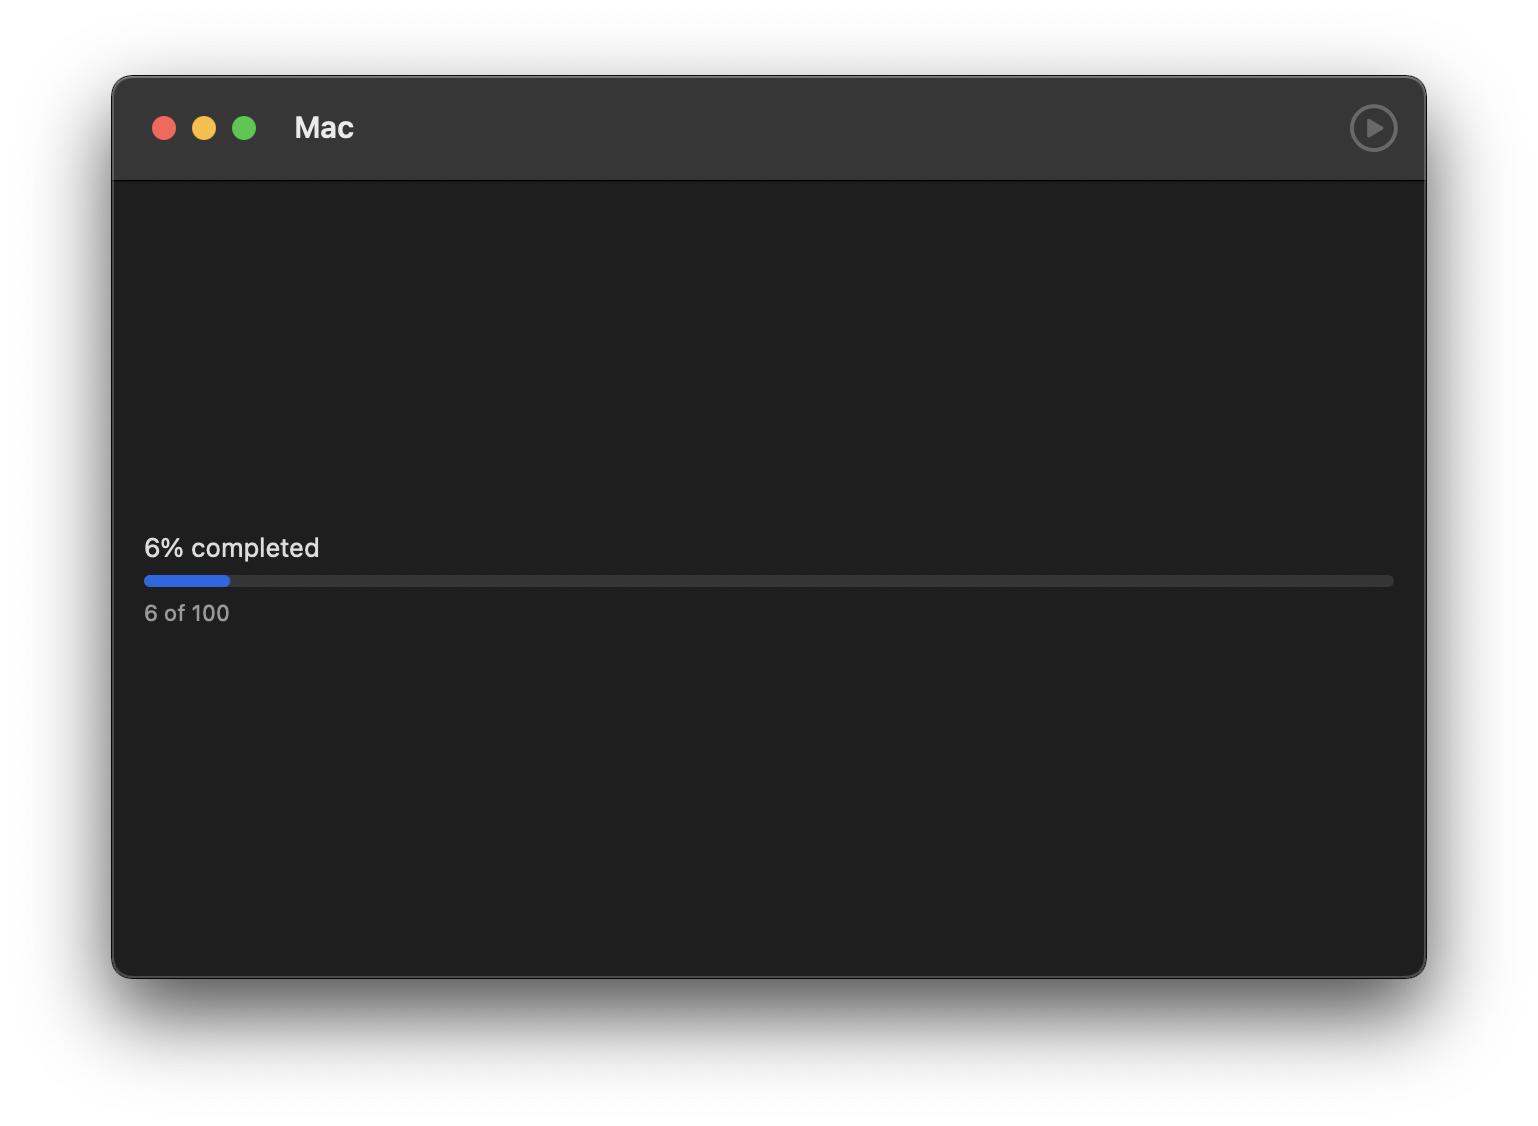
You will be automatically prompted to a window with a single button on it, that says Select IPSW and continue, click on it, and choose the previously downloaded IPWS file.
If the selection was successful, you will be prompted to the following installation window, that it will take a while to complete:
On completion, a macOS "Hello" screen will be shown:
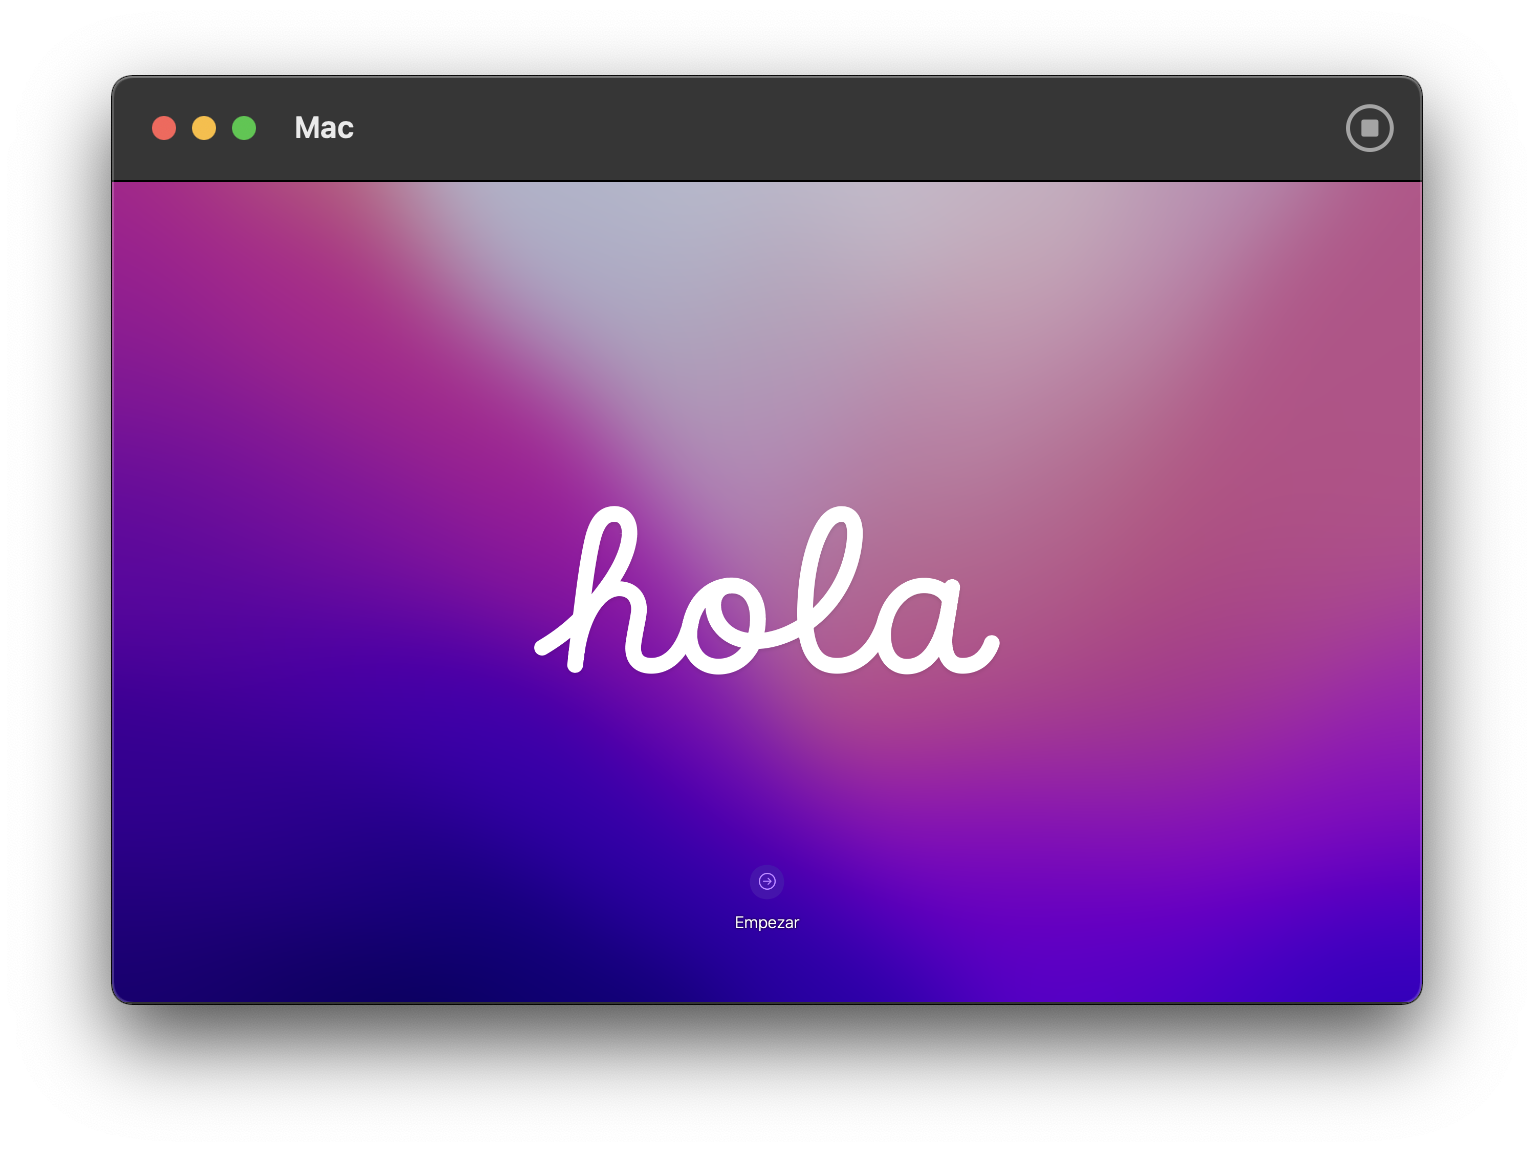
Do the first-ever configuration just like a normal Mac, and install all your dependencies and tools that you want to make available by default, so the CI doesn't have to install them every time. As an example, you can install command line tools.
If you didn't already done it yet, install Rosetta 2 via softwareupdate --install-rosetta. Unfortunately, GitHub haven't released yet a runner for ARM64 devices, so we will need Rosetta 2 to run the x64 version.
We will also need to access this instance via SSH, so make sure to have Remote Login with Allow full disk access for remote users flagged into System Preferences > Sharing.
In order to easily reach the VM instance from the bare metal one via SSH, we should set a static IP address, so in System Preferences > Network set Configure IPv4 to Using DHCP with manual address and insert into the IP address field a valid IP address. (You can use the same that was previously assigned via DHCP).
Take note of the assigned IP Address, cause we will need that one later.
Now, is time to get things ready for the github runner. To do so, inside our VM we will create a /Users/my-user/Documents/runner-isolation folder. This folder will contain our startup script and the github-runner code.
This script (/Users/my-user/Documents/runner-isolation/runner-launch.command) will be our startup script. We will call it via SSH, from the bare-metal machine, later: (Please note that you will have to change the org url and the username)
Then, download and unzip the Github self-hosted runner latest release for OSX (At the time of writing is 2.284) to /Users/my-user/Documents/runner-isolation/actions-runner
Step 2: Patch KhaosT/MacVM to automatically provide a clean running VM at every shutdown of the previous one
With the master macOS VM that has been set up, is now time to say to MacVM that we need a new clean VM when the previous one has been shut down.
To do so, I patched KhaosT/MacVM as follows, is something very basic, hacky and sketchy, but does its current job, please notice that at lines 55 and 56 you will need to change the paths to reflect yours:
When you applied the patch, run the App and you'll be prompted to a selection, then select your .macosvm file and click the start button.
WARNING: At first run, you're launching the master version, and that's here that you can still make changes to your golden image. When you're good to go just shutdown it as you normally shutdown your own Mac. Automatically the patched MacVM will notice that and will reboot a clean image which is one your runner can play on.
Step 3: Set up a script that orchestrates the runners
We have our golden image, our patched version of MacVM that boots a new one starting from the golden image every
time an instance shuts down, what is currently missing is an orchestrator, that does the following:
- Gets a new registration-token from Github via PAT
- Connects to the VM instance via ssh, running a previously set runner-launch.command script, passing as an argument the registration-token, so the PAT only resides on the bare metal side.
- Waits for the Github Action job completion
- Shuts down the VM instance, so a new one will be created via MacVM
Again, there's something basic, that needs error checking that currently does the dirty job on our instance (Please notice that you have to configure your Personal Access Token and change the api URL to reflect your org one):
With the macOS VM running, and on the non-master image, run the orchestrator script.
If everything has gone fine, you should see something similar to the following result:
Step 4: Test it!
Hurray!
Is time to test it on your Github Actions workflow.
To do so, you'll need to do some changes to your workflow. Below there's attached a workflow that we're using at kivy to run tests on macOS, as a reference.
The gamechanger here, in order to run our scripts on arm64, is the run_wrapper one and the strategy configuration.
Also consider that, as an example, actions/setup-python@v2 is still not available for arm64 on macOS, so you will need your own logic to setup the needed python version on M1 based self-hosted runners (At kivy, pyenv is used to handle multiple python versions on M1 self-hosted runners).